
21 Small Pantry Organization Ideas for Apartments
A small apartment pantry can feel full while still leaving you wondering what to cook. Bags slip behind cans, snacks take over the best shelf, and a new grocery shop brings duplicates of ingredients already hiding at the back.
The most useful small pantry organization ideas make food visible and easy to use. Whether your pantry is a narrow cabinet, a few deep shelves, or one cupboard in a tiny kitchen, you can build a system around the groceries you actually buy.
Start with one troublesome shelf and use containers you already own. The ideas below focus on storing ingredients, managing backstock, and keeping the next shopping trip from undoing your work.
Quick Pantry Wins
- Bring opened packages and foods you want to use next to the front.
- Measure the cabinet opening before choosing bins.
- Give everyday meal ingredients the easiest shelf to reach.
- Keep snacks, baking supplies, and backstock in separate zones.
- Check existing groceries before writing your shopping list.
1. Start With an Open-Package Inventory
Before buying storage, put opened bags, boxes, and jars on the counter. Count what is already in use: two bags of rice, three half-full pasta boxes, or several snack packets can explain why the shelf feels crowded.
Choose the package to finish first and place it at the front. Keep different foods separate, and retain their original information. A small pantry needs a clear picture of existing groceries before it needs another basket.
2. Measure the Opening, Not Just the Shelf
A narrow pantry cabinet may have a roomy interior but a smaller opening because of hinges or a center divider. Measure that opening, the usable shelf depth, and the clearance above each shelf.
Try a cardboard box in the space before ordering bins. Check that it slides out without hitting the door and that you can lift its contents. An organizer that fits inside but cannot come out easily creates another daily obstacle.
3. Give Weeknight Ingredients the Best Shelf
Place the ingredients you cook with most often between waist and shoulder height. Rice, pasta, beans, tomatoes, or whatever forms your regular meals should be visible without crouching or stretching.
Arrange this shelf around your actual menu rather than a photographed pantry. If you rarely bake, flour should not take the prime position simply because its container looks attractive. Put occasional ingredients on a less convenient shelf, with a clear label facing forward.
4. Divide Deep Shelves Into Food Lanes
Treat a deep shelf as a few narrow lanes running from front to back. One lane might hold rice, another canned tomatoes, and another breakfast supplies. Keep one food type within each lane instead of placing unrelated groceries behind one another.
Put the active package at the front and its replacement directly behind it. You can see what needs finishing and find the backup without clearing the whole shelf. Avoid making a lane deeper than you can comfortably reach.
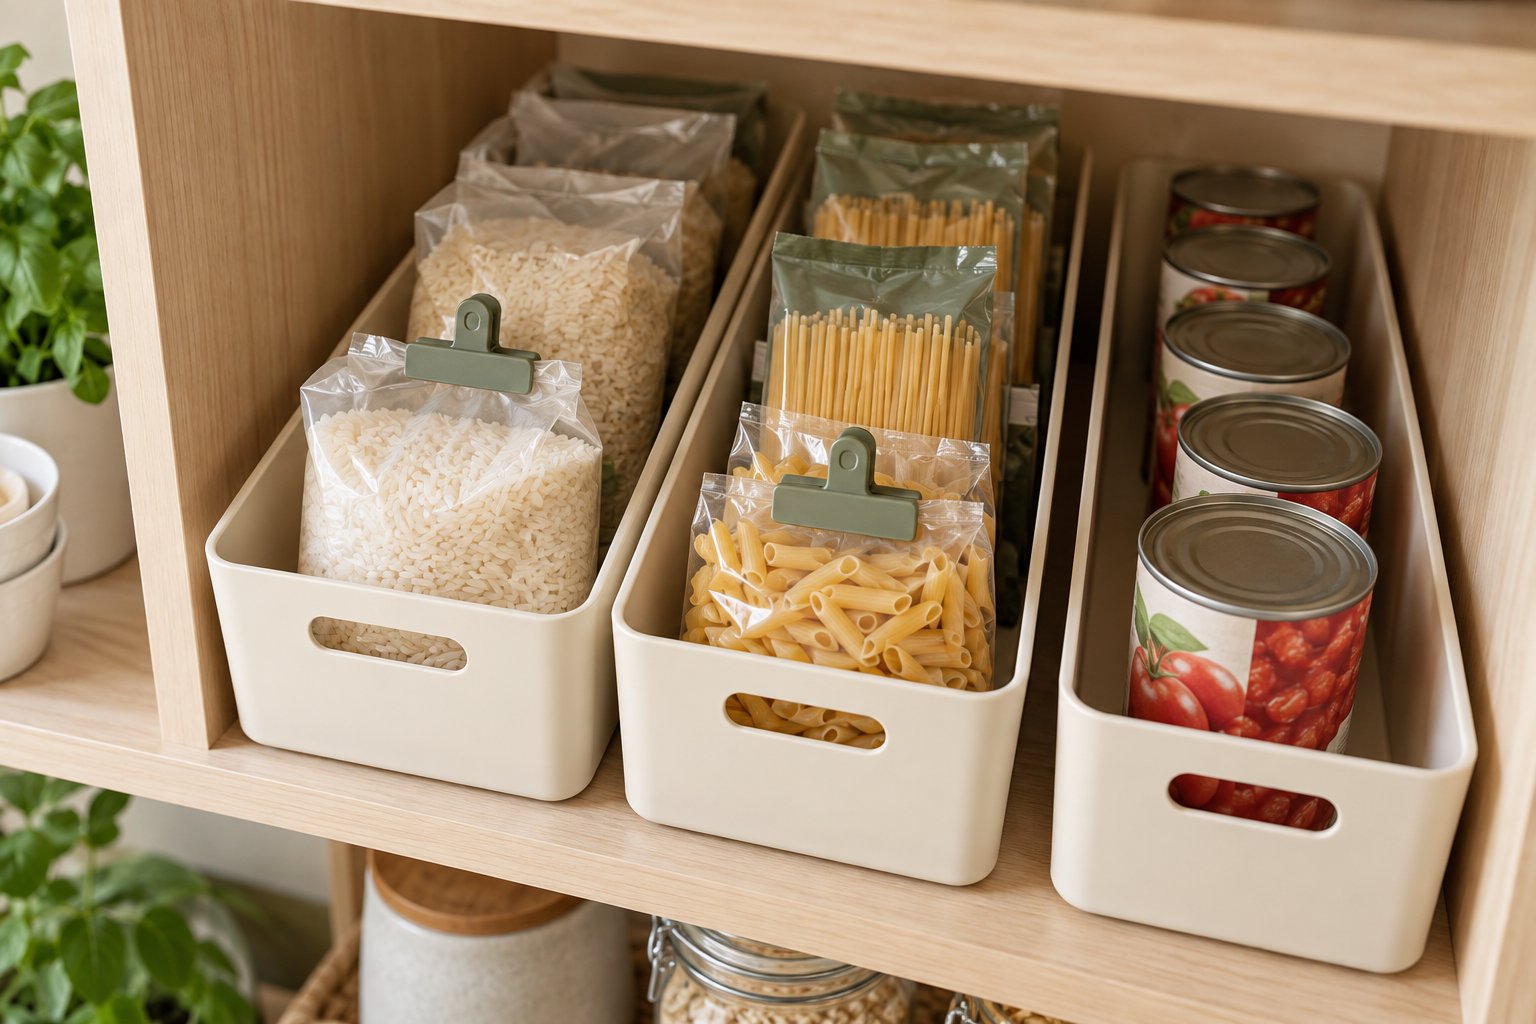
5. Use Pull-Out Bins for Complete Food Groups
On awkward lower shelves, use a shallow handled bin for one food group, such as noodles, grains, or dinner packets. Pulling out the group brings the back of the shelf into view.
Leave a little space above the handle so you can grip it. Keep a heavy collection of cans out of a large bin that becomes difficult to lift. Several manageable containers usually work better than one packed tub spanning the entire cabinet.
6. Use Shelf Risers Where Labels Disappear
A riser helps when a second row of short cans or jars hides behind the first. Test it with the foods you own: the raised labels should be visible, and the upper row should still fit below the shelf above.
Use one shallow tier rather than building an unstable display. If the shelf is already low, a single row or pull-out bin may be more useful. The aim is to recognize ingredients at a glance, not squeeze in an extra layer everywhere.
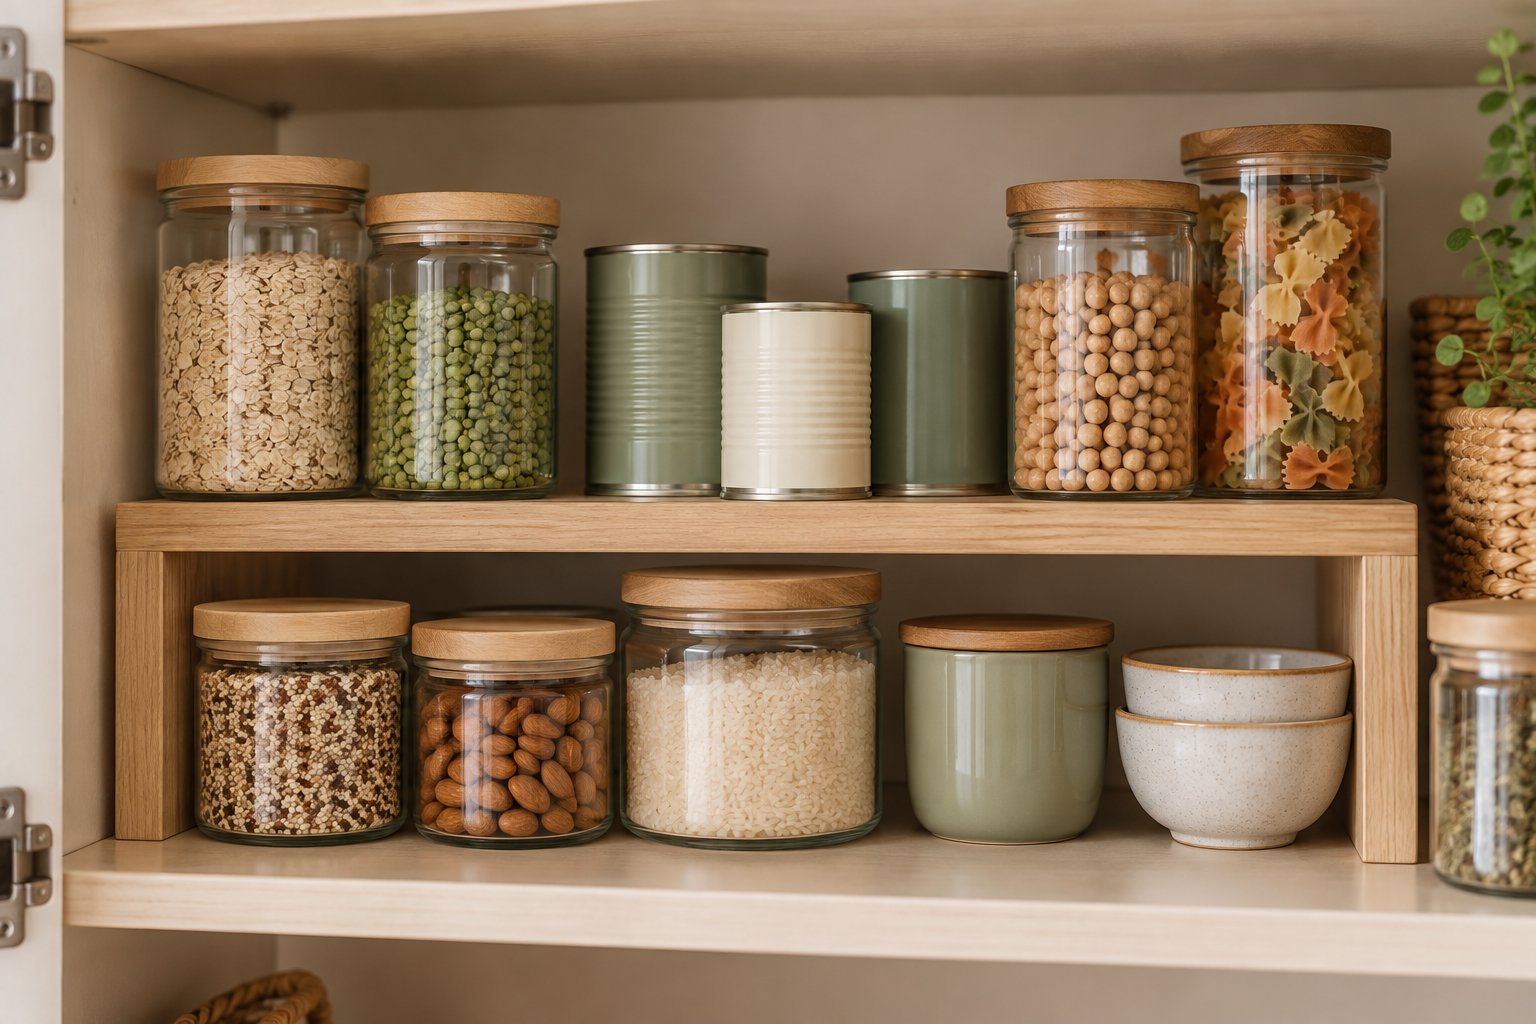
7. Rotate Canned Food From the Front
Group cans by the way you cook: beans together, tomatoes together, soups together. Place older purchases or items you want to use next at the front, following any storage and date instructions on the packaging.
After shopping, add replacements behind the existing cans. A short row you can count is often easier than a bulky can dispenser. Before buying a dispenser, compare its capacity and footprint with the same cans arranged directly on the shelf.
8. Reserve a Turntable for a Small Bottle Cluster
A compact turntable can bring oils, vinegars, and sauces forward without moving the front bottles. Use it for a group of upright bottles that otherwise disappears into the corner.
Measure the diameter and check that the tallest bottle clears the shelf. Keep bottles within the tray edge so it turns freely. On a narrow rectangular shelf, a rectangular bin may hold more; choose the tool that improves access in that particular spot.
9. Stand Packets Upright Like Files
Sauce mixes, seasoning envelopes, and small grain packets tend to slide under larger groceries. Stand them upright in a narrow open box, with the names facing the front.
Use a simple divider if packets collapse when the box is partly empty. Separate meal packets from baking packets so you can scan the right section quickly. Reuse a sturdy box first; this is an easy place to test whether a new organizer would actually help.
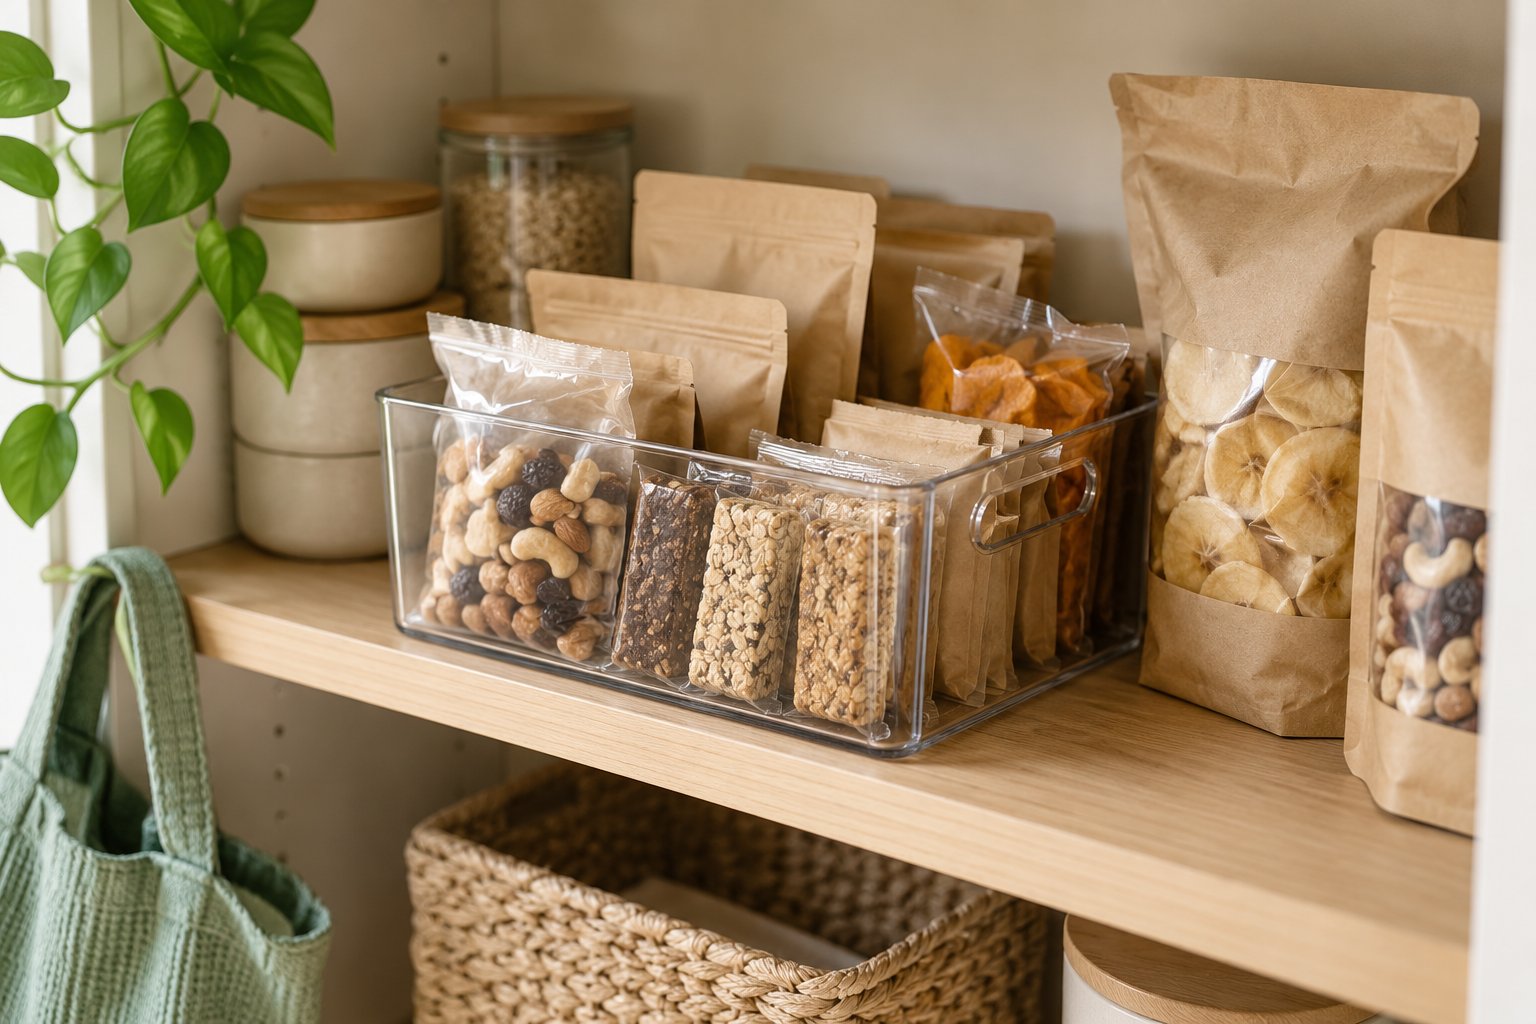
10. Make One Grab-and-Go Snack Bin
Put everyday snack choices in one reachable bin instead of scattering them across several shelves. Keep small packets upright and leave larger bags beside the bin rather than folding them into tiny compartments.
Refill from your backup supply when the bin is running low. Set its size to the space available, not to the biggest multipack at the store. A visible selection makes snacks easier to find and shows when you have plenty before another shopping trip.
11. Build a Compact Breakfast Station
Keep oats, cereal, spreads, and other shelf-stable breakfast ingredients close together. Use a single shelf section so one person can gather breakfast without searching through the dinner supplies.
Keep cereal in its box if the box fits well; a tall dispenser is not automatically a space saver. Place the breakfast zone near your cups or bowls when the layout allows. Return items to the same spot so the morning routine does not spread across the kitchen.
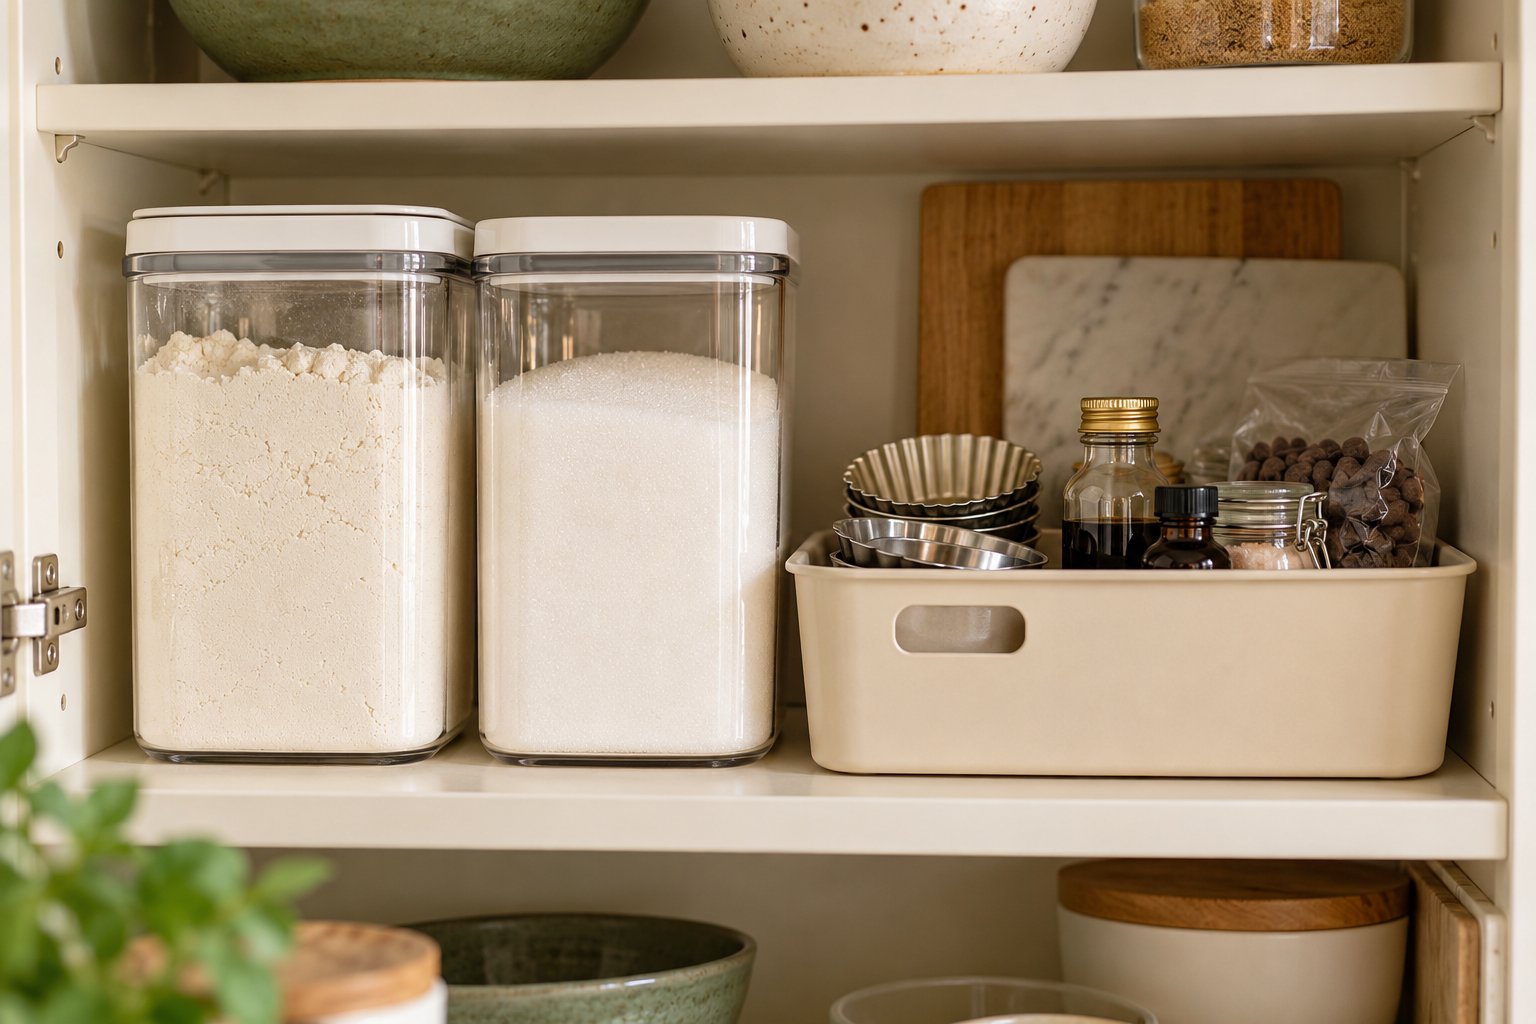
12. Split Baking Supplies Into Staples and Small Extras
Give flour, sugar, and other bulky baking staples their own shelf area. Collect small extras, such as extracts, baking powder, decorating supplies, and chocolate chips, in a removable box beside them.
Bring that box to the counter when baking, then return it as one unit. You avoid losing a small bottle behind a large bag, while the pantry still accommodates tall ingredients. Keep measuring tools in a nearby drawer if adding them would crowd the food zone.
13. Arrange Spices So Every Name Is Visible
Choose one format for the pantry spices: a shallow front-facing row, a small tier, or a narrow removable tray. Avoid mixing upright jars, loose packets, and spare bottles in several hidden layers.
Put the jars you use regularly at the front and keep unopened replacements with backstock. A simple handwritten top label can help on a low shelf. If most spices already live near the stove, leave that working system alone rather than duplicating it in the pantry.
14. Decant Only the Foods That Need It
Transfer a food when its bag tips over, is awkward to close, or wastes shelf space. Rice, flour, and oats may benefit; neatly stacking cartons or easy-to-close packages may not.
Keep the food name, cooking directions, allergen information, and any relevant date or storage instructions with the container. A clipped piece of packaging can work. These small pantry organization ideas should make food easier to use, without creating a second job of filling matching jars after every shop.
15. Choose Container Sizes Around Real Purchases
Before buying a container, check whether it holds the amount you normally purchase. A jar that leaves half a bag outside it has doubled the storage problem.
Square or rectangular containers can fit closely on narrow shelves, but leave enough room to grab them and remove the lids. Test the largest staple first, then choose smaller containers only where needed. Avoid an oversized set that fills your cabinet with empty containers and lids you have to store.
16. Give Backstock One Defined Boundary
Use one clearly marked area for unopened replacements. Keep it separate from the shelf of active groceries, so a spare bag does not look like another ingredient you need to open.
Set a practical limit, such as one backup of the staples you use most. When that area is full, check it before buying more. A small apartment pantry works better with a predictable reserve than with scattered duplicates hiding behind every category.
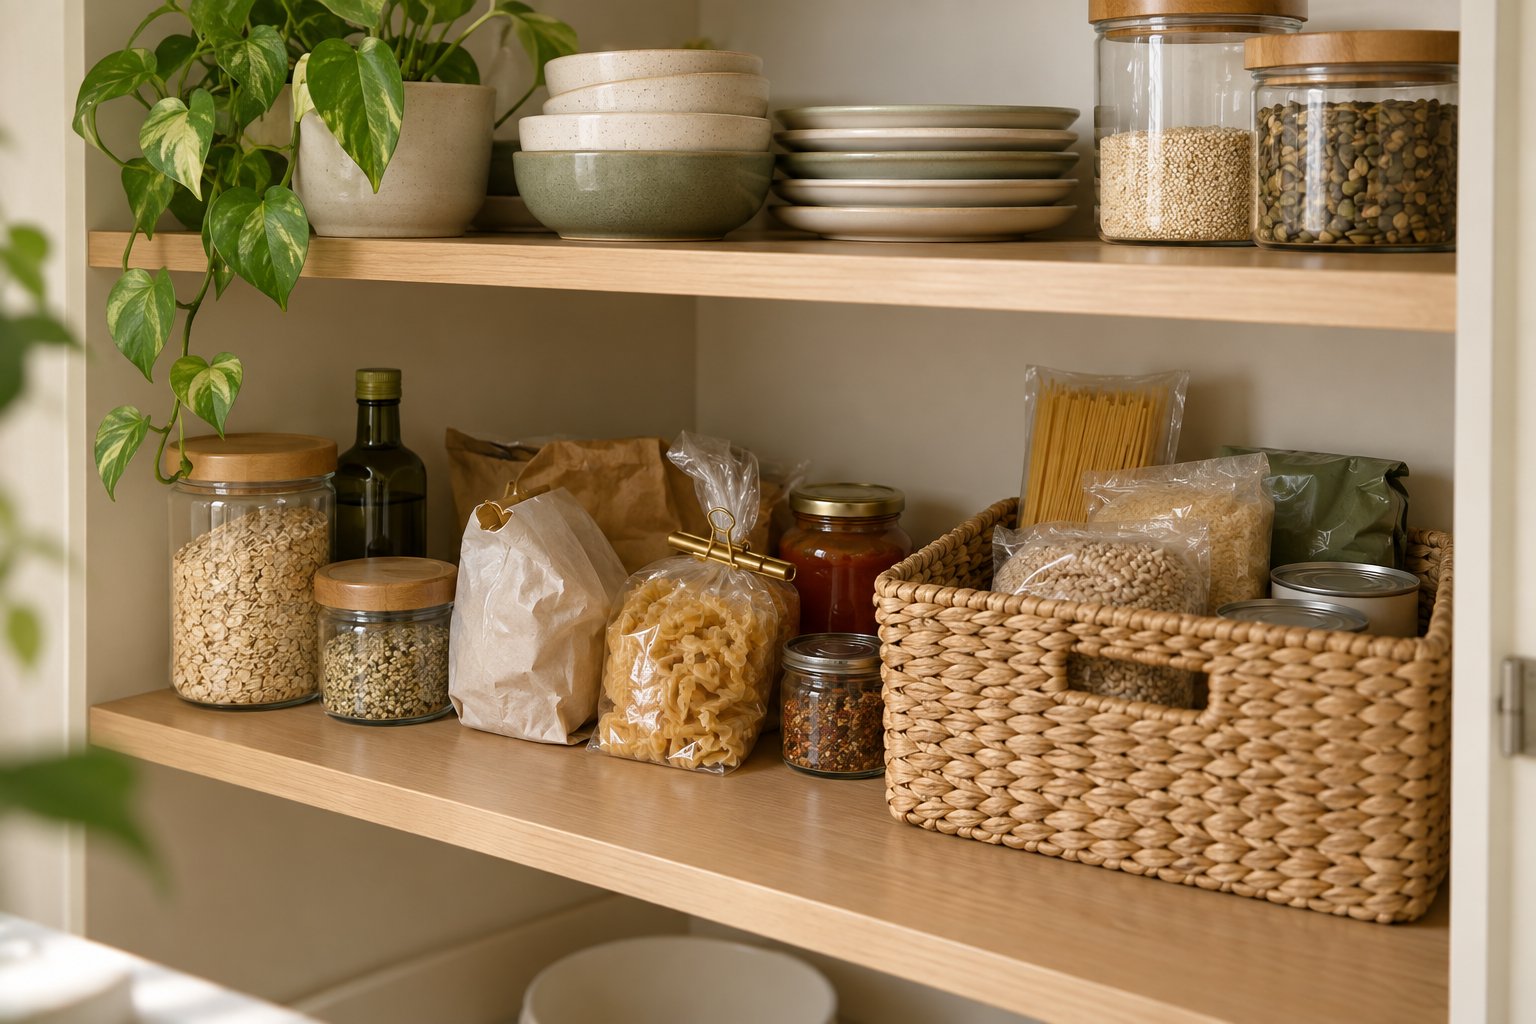
17. Check Bulk Purchases Against Available Space
A larger pack can cost less per serving but still be a poor fit for your kitchen. Before buying it, decide where the entire purchase will live and whether you can use it at your normal pace.
For foods you buy regularly, record the package size that fits your pantry. If a multipack would crowd daily ingredients or require another storage unit, a smaller pack may be the more workable choice. Keep bulk items together so you can see the reserve.
18. Use Under-Shelf Space for Lightweight Extras
An under-shelf basket can hold flat packets, small snack bars, or spare bags where there is a large unused gap. Choose a shallow basket that leaves the foods below easy to reach.
Check that its hooks sit securely on your shelf and do not prevent the door from closing. Avoid using it for heavy jars. If the basket hides the labels below or snags bags every time you reach in, remove it; added storage should not make the shelf harder to use.
19. Test Door Storage With the Door Closed
A slim door rack may suit spice packets or small lightweight items, but pantry shelves often extend close to the door. Measure the clearance and test with a temporary cardboard shape before mounting anything.
Follow the organizer’s fitting instructions and your rental rules. Check hinges, shelf edges, and the door swing. A rack that forces the door to stay slightly open is not useful extra space. Keep heavy groceries on the cabinet shelves.
20. Create a Pantry Zone if You Have No Pantry
Choose one cabinet or a small freestanding unit for shelf-stable food. Group daily ingredients there instead of distributing them among cookware, cleaning supplies, and spare appliances.
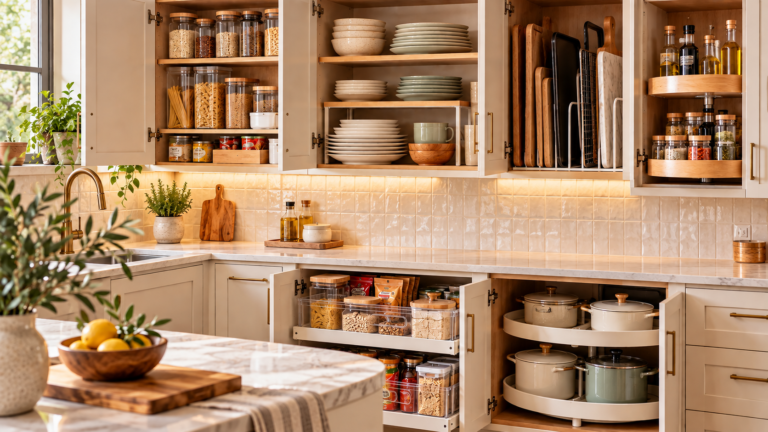
Keep the footprint modest and preserve clear access through the kitchen. A dedicated food zone makes it easier to check groceries even without a pantry closet. For plates, pans, and the rest of your cabinet layout, use our small kitchen cabinet organization ideas alongside this food-focused system.
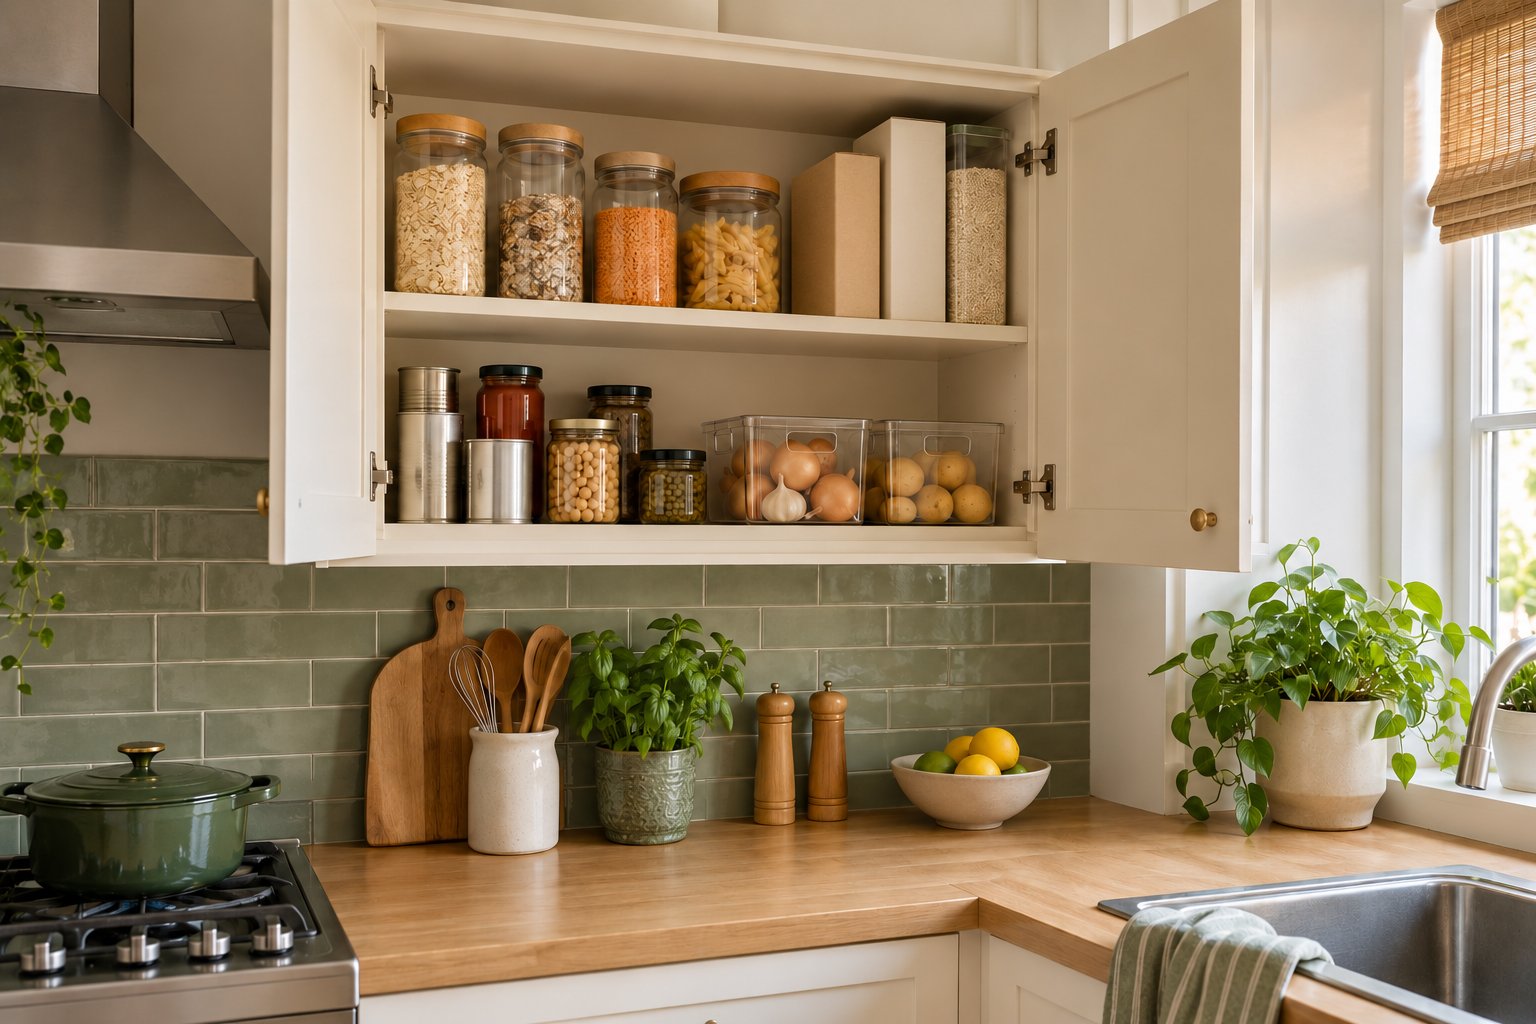
21. Do a Pantry Check Before the Weekly Shop
Before writing your grocery list, look through the active shelf, snack bin, and backstock. Bring the foods you plan to use next forward, return stray packages to their zones, and note what is nearly finished.
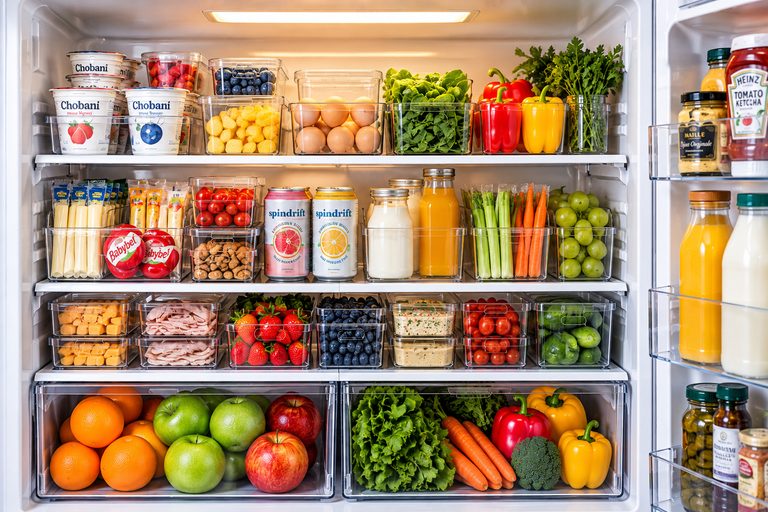
Choose a meal that uses an ingredient already waiting on the shelf. Then check refrigerated ingredients too; our small fridge organization ideas can help you see those supplies. A short pantry check prevents buying another bag simply because you could not find the first one.
Small Pantry Organization Ideas You Can Keep Using
A useful pantry lets you spot dinner ingredients, find the opened package, and see what needs replacing. It does not need identical jars, a walk-in room, or an organizer in every empty space.
Start with the shelf that loses the most food, choose one change, and test it through a grocery cycle. If a bin is awkward or a turntable wastes space, adjust the setup before buying more. Keep the parts that make cooking and shopping easier.
With clear food zones, a modest backstock limit, and a quick weekly check, even a single apartment cupboard can become a pantry you can rely on.
Keep Organizing
Continue with more practical TidyLuma ideas for small spaces.