
21 Cleaning Supply Organization Ideas for Small Apartments
A cleaning routine is harder when the broom leans behind a door, sprays live in three rooms, and spare cloths disappear in a kitchen cabinet. In a small apartment, the problem is rarely one missing organizer. It is that tools, daily products, and backups have never been given different jobs or clear places.
The key takeaway: Give everyday cleaning supplies one safe home, keep bulky tools in a narrow dedicated zone, and limit backups to a space you can see at a glance. Design the system around the route you actually take while cleaning.
These cleaning supply organization ideas work whether you have a utility cupboard, a single under-sink cabinet, or no closet at all. Start with the products you use every week. Then deal with long tools and refills rather than trying to fit everything into one crowded caddy.
Quick Cleaning Supply Wins
- Put every product and tool in one place for a quick inventory.
- Choose a secure storage spot before choosing a basket or wall hook.
- Build one small carry kit and give refills a separate, limited shelf.
Start With a Safe, Useful Storage Plan
1. Sort by use before sorting by room
Make three groups: weekly essentials, occasional jobs, and unopened backups. This shows which items deserve the easiest reach and which can move out of prime cabinet space. A glass cleaner used once a month does not need the same position as the cloth you reach for after dinner.
Keep the tool that belongs to a specific messy task near that task if it is safe to do so. A bathroom brush, for instance, can have a separate bathroom home while the refill supply remains in the main cleaning zone. The aim is a short, obvious route—not every product in one overloaded cabinet.
2. Check the labels and storage conditions first
Read the storage directions on each original label before choosing a location. Keep products in their original, clearly marked containers with caps closed. A pretty unmarked bottle is a poor trade if nobody can identify its contents or find the directions later.
Choose a stable spot away from food and inaccessible to children or pets. If a low cabinet is the only option, use an appropriate childproof lock where needed. The EPA advises keeping household products in their original containers and out of children’s reach.
3. Measure the opening, pipes, and door swing
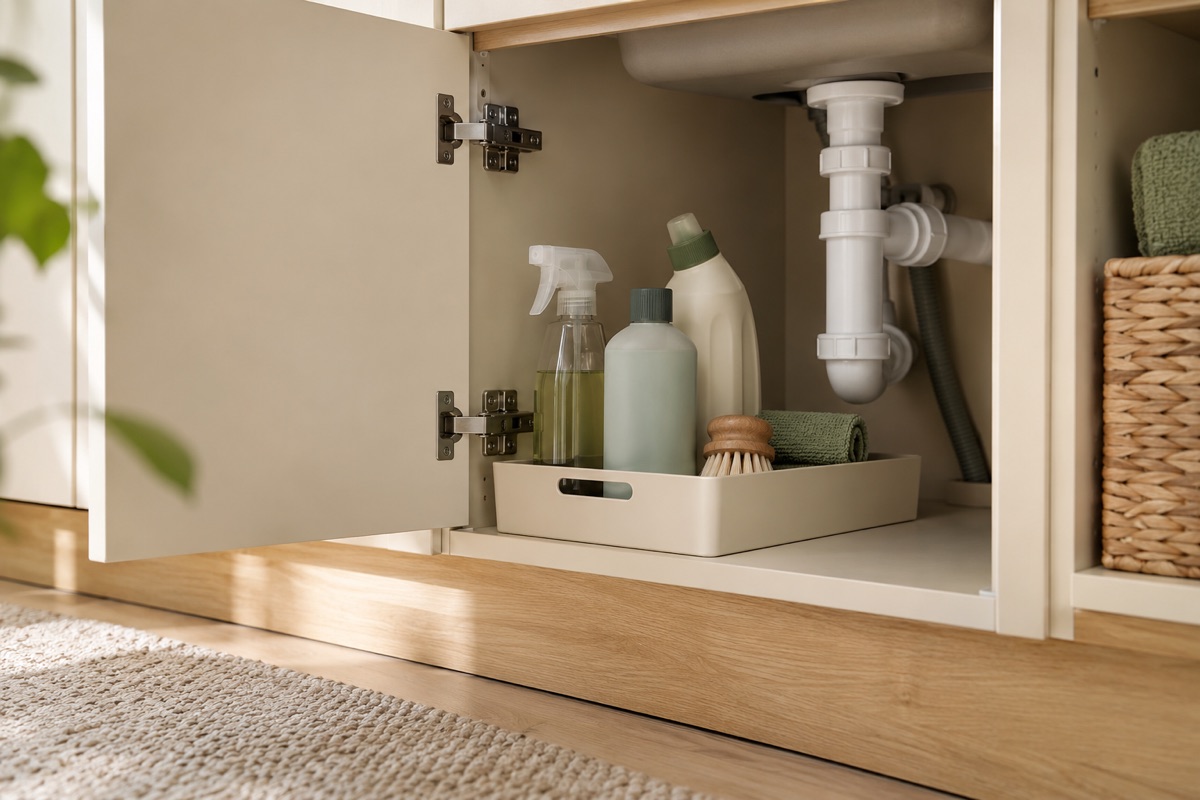
An under-sink cabinet can look roomy until the drainpipe, hinges, and door opening reduce usable space. Measure the clear width, depth, and height where a bin must actually pass. Leave space to reach plumbing and notice any area that becomes wet or warm.
Test the layout with an empty box before buying a pull-out organizer. A tray that fits on the shelf but cannot pass the door is not usable storage. Our small kitchen cabinet guide covers measuring and organizing other tight cabinet shapes.
4. Choose one primary supply zone
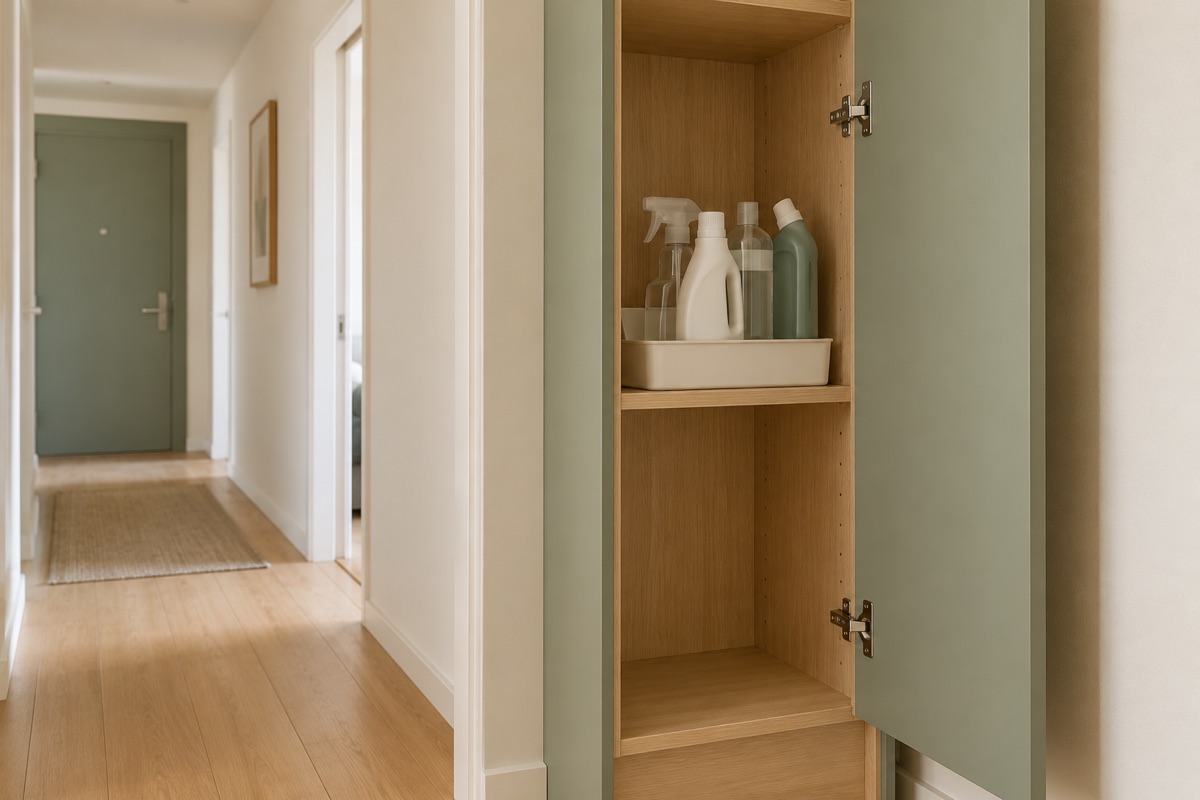
Pick the safest existing cabinet or cupboard that suits the labels and is convenient for your cleaning route. Give it a clear boundary: one shelf, one cabinet side, or one bin. This prevents cleaning products from spreading into food storage or clean linen space.
If there is no utility closet, you do not need to create one with new furniture. A dedicated section of an existing cupboard may be enough. Make the whole zone easy to identify so another household member can put supplies back without asking where each bottle belongs.
Useful rule: If a product needs to be moved every time you reach a daily tool, the shelf is too full or its categories are in the wrong order.
Keep Everyday Cleaning Easy to Carry
5. Build a small carry caddy for weekly work
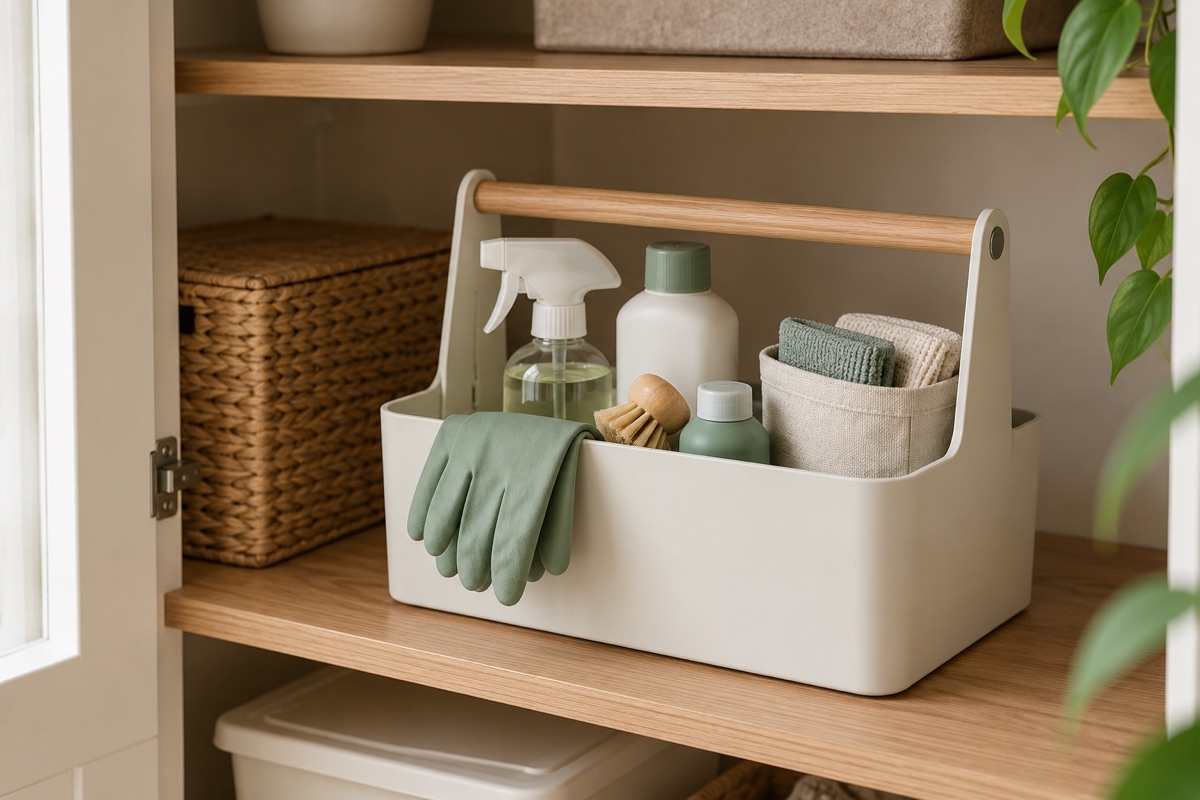
Put only your most-used, safely closed products and tools in a caddy you can lift with one hand. A multipurpose cloth, appropriate surface cleaner, gloves, and a few small tools may be enough. Keep heavy bottles out if they make the caddy awkward or unstable.
The carry kit should help you move through the apartment, not become the permanent home of every backup. Try a caddy you already own before buying a new one. Its handle should clear the cabinet shelf and remain comfortable when the kit is full.
6. Give cloths a clean and a used route
Store clean microfiber cloths or rags in one dry, washable pouch or shallow bin. Keep a separate place for used cloths so a damp one does not go straight back beside fresh supplies. Wash and dry them according to their care labels before returning them.
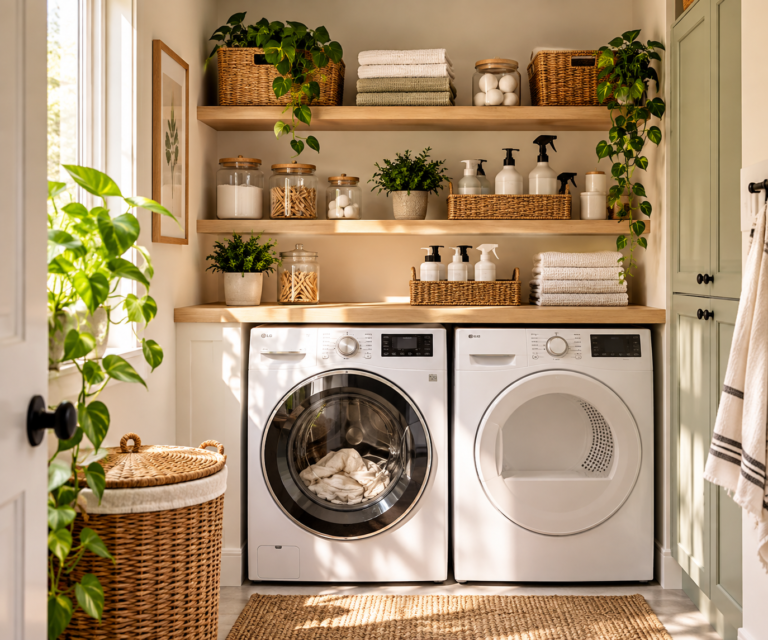
This two-direction system is more useful than sorting cloths by color alone. Put the clean bin close to your caddy and the used collection point near your normal laundry route. The small laundry room guide covers keeping the wash area functional in limited space.
7. Separate the bathroom kit from the general kit
Keep toilet-specific tools and bathroom cleaning items distinct from cloths used on kitchen or living-room surfaces. They do not have to occupy a large second caddy. A small, designated bathroom compartment or closed bin can make the distinction clear.
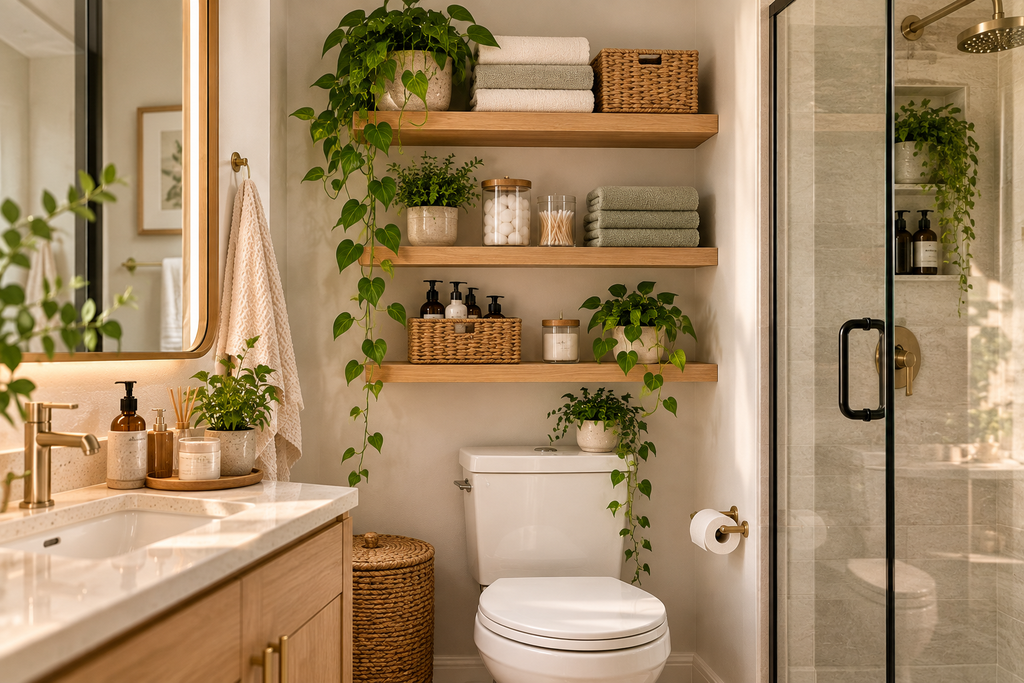
Place it where it is secure, dry, and easy to clean around. The goal is to prevent cross-use and reduce trips across the apartment. For bathroom zones and everyday toiletries, see our small bathroom organization guide.
8. Keep frequently used tools at a comfortable height
Put the everyday caddy or primary bin where you can take it out without kneeling behind a door or lifting several other things. Reserve high or low shelves for light, occasional items only when the position is safe and practical for your household.
9. Use one tray for a small bottle group
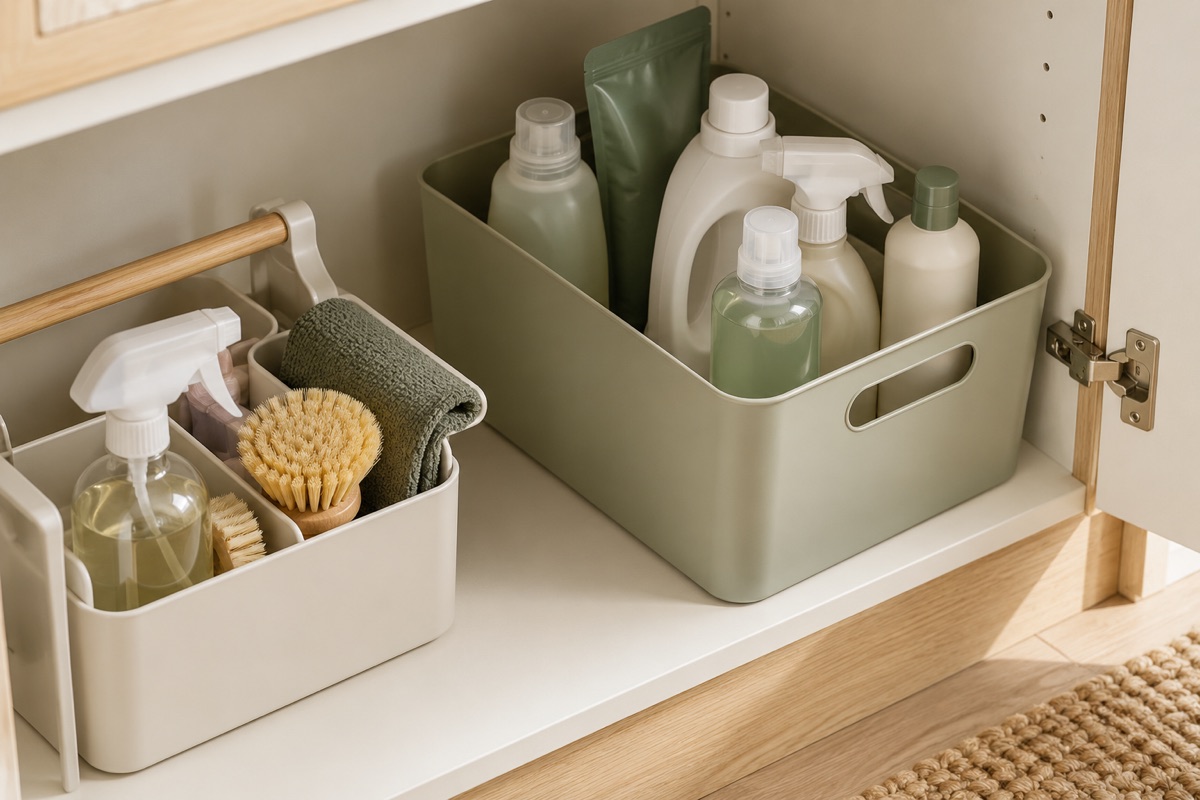
A shallow, wipe-clean tray can give related bottles one boundary and catch a minor drip. Keep each product upright and visible. Do not crowd bottles so tightly that you must pull several out to identify one.
Find Space for Long Tools Without Blocking the Room
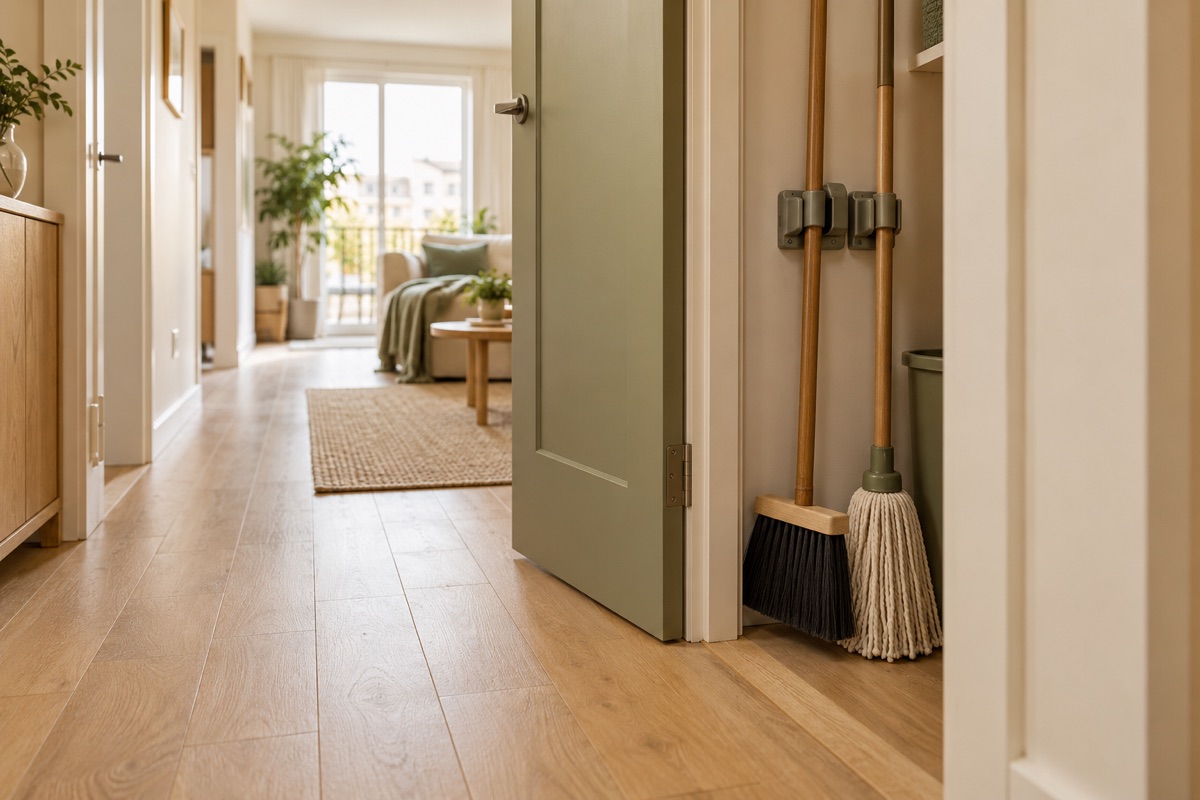
10. Give the broom and mop one narrow parking place
Look for a slim unused wall or cupboard side where long tools can stand without blocking a door, outlet, or walking route. A compact wall holder can help if the surface and your rental rules allow it. Measure tool handles and the space needed to lift them free.
Avoid hiding a broom behind a door that opens against it. If the only available spot is exposed, keep the arrangement simple and tidy: two or three tools together look calmer than a collection leaning at different angles.
11. Test over-door storage with the door closed
An over-door rack can hold light accessories such as spare cloths or a duster. Before filling it, check door thickness, hinge clearance, latch alignment, and the hallway space when open. Load it lightly and close the door gently.
Skip this option if it rubs the frame or makes a narrow passage harder to use. More pockets do not help when the door itself becomes frustrating. The same clearance test applies to small entryway organization in tight apartments.
12. Keep the vacuum in its real-use position
A vacuum parked in the farthest corner may look hidden but makes a quick floor reset less likely. Find a place near the rooms you clean most, with a clear path to remove and return it. Account for its attachments, charger, cord, and any manufacturer ventilation directions.
13. Store small attachments together
Vacuum heads, spare pads, and brush attachments are easy to lose when separated from the main tool. Use one modest pouch or shallow bin near the vacuum. Keep only attachments that fit the model and that you still use.
14. Use vertical space for lightweight supplies
The side of a suitable cupboard or a shallow shelf can hold cloths, an empty caddy, or a light duster. Check the mounting surface and rental rules before adding hooks. Keep weight limits and door clearance in mind.
Control Refills, Paper Goods, and Shared Supplies
15. Give unopened backups one visible limit
Choose a single bounded spot for unopened refills. A basket or half shelf is enough for many apartments. Before buying a replacement, check this spot and the active bottle first. Keep products upright and follow their label’s storage instructions.
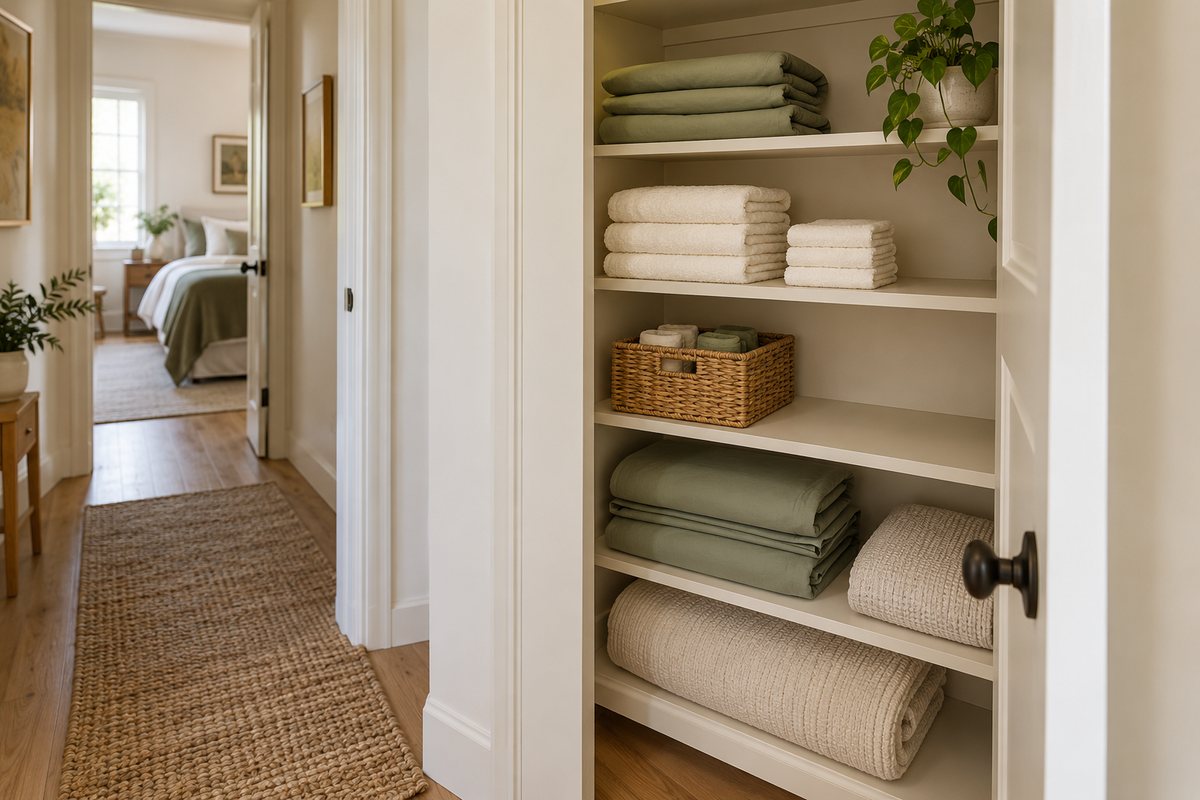
The limit should reflect how often you shop and the room you actually have. A discount on a large pack is not a saving if the extras displace essentials or sit in the hallway. The linen closet guide uses the same principle for bathroom backups while keeping them apart from clean textiles.
16. Protect paper goods from moisture
Store paper towels and spare cleaning wipes in a dry location with a defined footprint. Under a sink is convenient only if that space stays dry and the products fit without pressing on pipes. Keep the active roll close to use and the replacement pack elsewhere if needed.
17. Keep laundry products in their own working zone
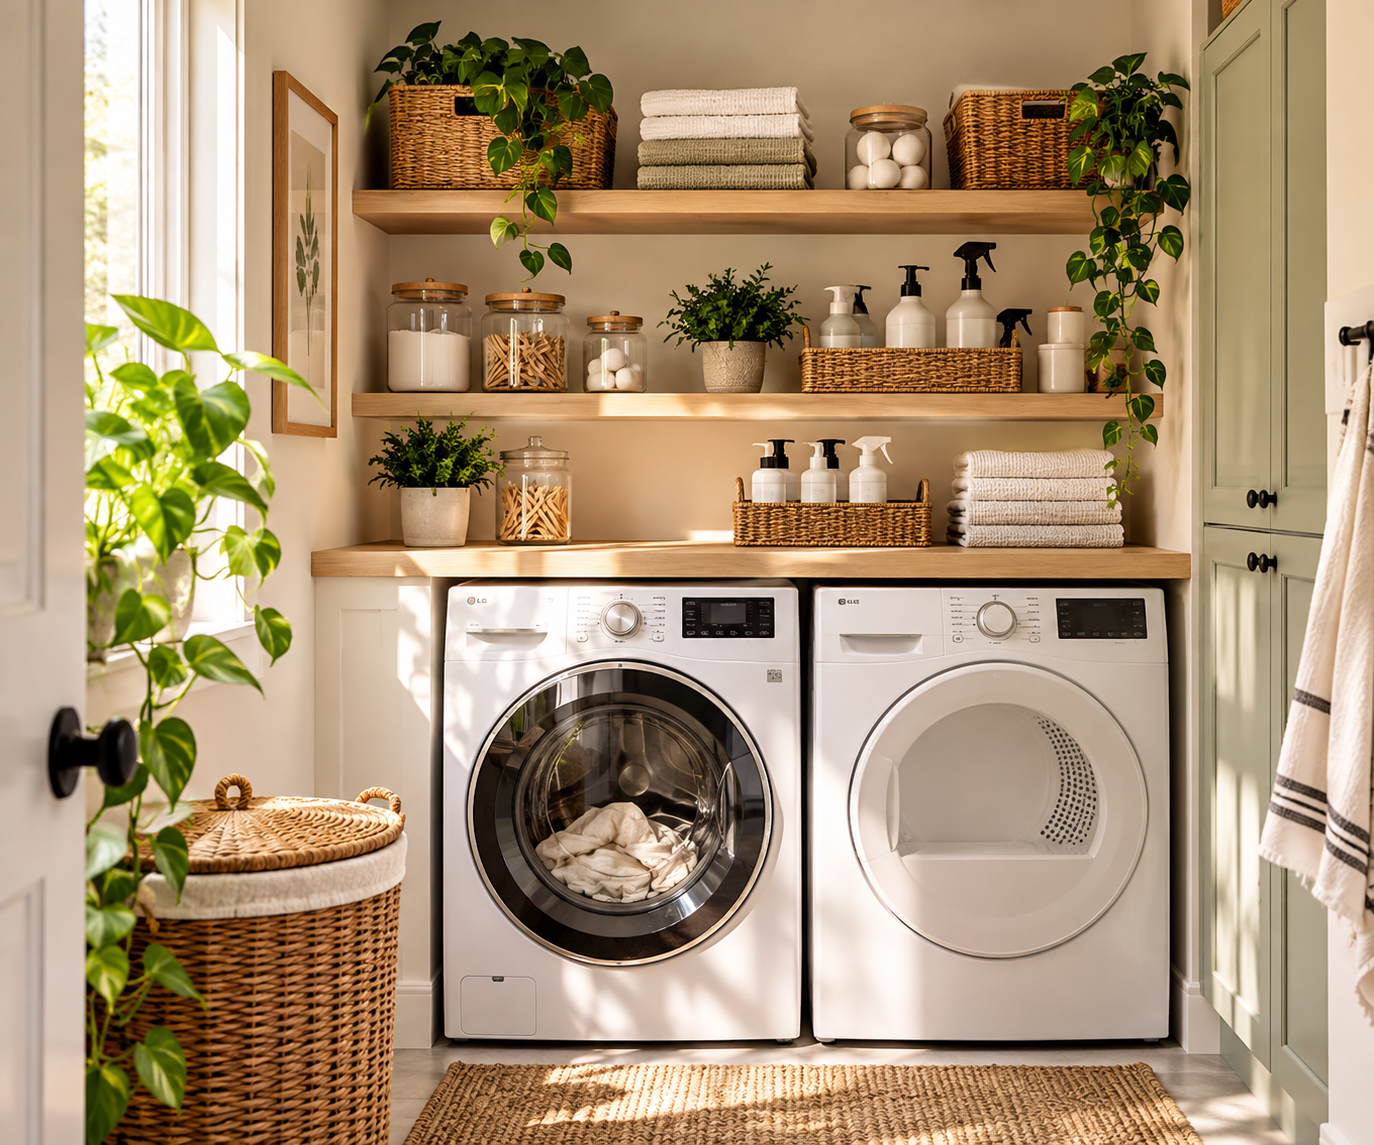
Detergent, stain products, and fabric-care tools belong near the laundry workflow when that location is suitable and secure. Separate the active products from general house-cleaning refills so the zone does not become a mixed store cupboard.
If you use a shared laundry room, keep a portable laundry kit that is easy to carry and return. Avoid decanting products into unmarked containers; labels matter for safe use and storage. Keep the kit away from clean folded clothes.
18. Do not turn the food cupboard into a cleaner cupboard
If every cabinet is occupied, first look for a separate secure zone before squeezing chemicals beside food or food preparation supplies. A designated compartment in another cupboard may work, provided the product labels permit that location and the storage is inaccessible to children or pets.
Treat separation as a practical boundary, not merely an attractive bin. This also makes restocking easier: household products and food purchases have different review routines. The small apartment organization guide can help you allocate scarce space across rooms.
Safety check: Never mix household bleach with other cleaners. The CDC warns that mixing bleach or disinfectants with other products can release dangerous vapors. Keep every product’s original instructions available.
Make the System Easy to Maintain
19. Mark a return spot for every shared tool
If several people clean the apartment, a tool needs one agreed home. A broad shelf label such as “clean cloths” or “vacuum parts” can help, but only where confusion really occurs. Avoid labeling every bottle or filling the cabinet with tiny categories.
20. Build a five-minute weekly supply check
When cleaning is done, return the caddy, dry and sort tools, check the used-cloth route, and look for nearly empty active products. Add only genuinely needed replacements to a shopping list. This short check keeps duplicates from building up quietly.
Deal with damaged containers or leaks according to the product label and local disposal guidance. Do not pour leftovers together to save space. A small weekly routine is easier than an occasional full cabinet empty-out.
21. Recheck the route before buying an organizer
Walk through one normal cleaning session with the setup you have made. Which tool was hard to reach? Which product traveled too far? Which shelf was difficult to restock? Fix the movement first; a different organizer is worthwhile only if it solves a specific repeated problem.
Leave a little free space for returning the caddy and unopened refills. A completely filled cabinet may photograph neatly but fail the first time you clean the apartment. The best system makes the ordinary week easier.
A Cleaning Zone That Fits the Apartment
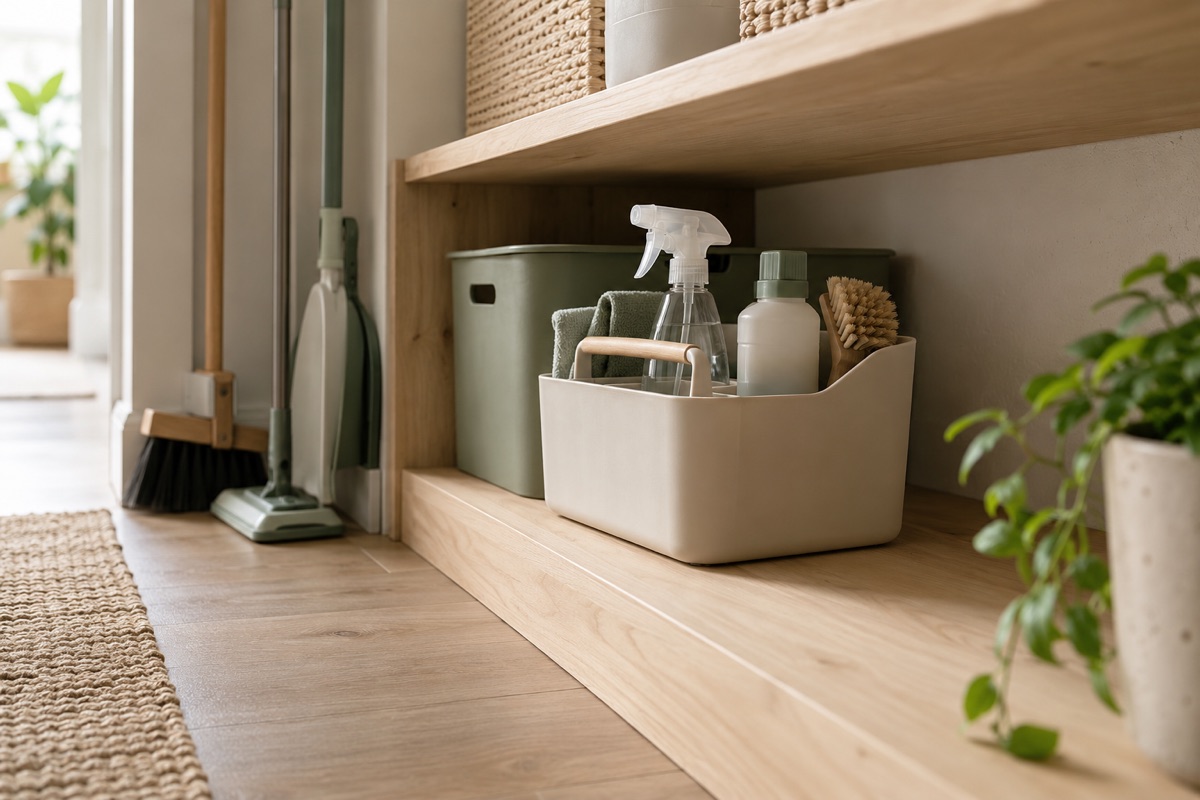
You do not need a dedicated utility room to make cleaning supplies orderly. Give the everyday kit a secure, convenient home, park long tools without blocking movement, and keep backups within a boundary you can inspect before shopping.
Start with one shelf and one cleaning route this week. If you can take out what you need and put it back safely after the job, the system is doing its work.
Keep Organizing
Continue with more practical TidyLuma ideas for small spaces.